Connect-135 QuickStart Wi-microDig
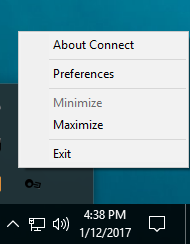
Connect runs in the background and can be accessed via the system tray at the bottom right of the screen. When a Wi-microDig is connected via Bluetooth, Connect creates a virtual MIDI port with the name and serial number of that device.
Verify that your computer has a Bluetooth adapter by checking the Windows control panel or system tray, where a Bluetooth icon should be visible.
Then add the Wi-microDig as a Bluetooth device to Windows.
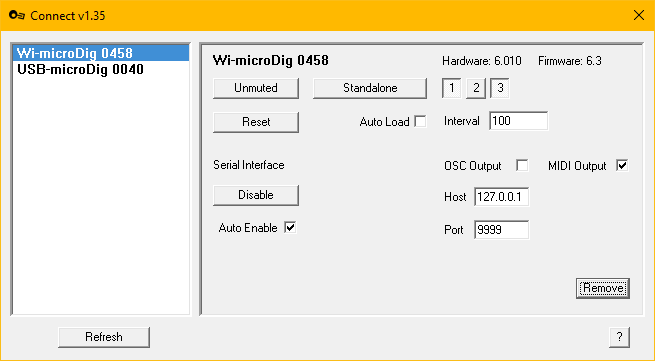
Click on "Refresh" in Connect and the Wi-microDig will then appear in the device list. The blue LED on the Wi-microDig will also turn on to indicate that a Bluetooth connection has been made.
By default, Connect will attempt to connect to your Wi-microDig when it is launched. If you would like to disable auto-connect, turn it off by unchecking the auto-enable checkbox in the digitizer view.
To remove the Wi-microDig from the device list (even when it's not connected and enabled), click on "Remove". If you want to use it again, simply click "Refresh".

