Difference between revisions of "WiDig-800 QuickStart Windows"
(→WiDig BLE on Windows Without the Widi Bud Adapter) |
(→WiDig BLE on Windows) |
||
| Line 1: | Line 1: | ||
===WiDig BLE on Windows=== | ===WiDig BLE on Windows=== | ||
| − | On Windows, configuration of the WiDig must be done through USB (same way as the USB-microDig), or using the [WiDig-800_QuickStart_WidiBud | + | On Windows, configuration of the WiDig must be done through USB (same way as the USB-microDig), or using the [WiDig-800_QuickStart_WidiBud Widi Bud adapter]. It is however possible to receive sensor data on a Windows computer with a generic BLE interface once it is configured in Standalone mode in EditorX. |
You will need: | You will need: | ||
Revision as of 20:11, 29 June 2018
WiDig BLE on Windows
On Windows, configuration of the WiDig must be done through USB (same way as the USB-microDig), or using the [WiDig-800_QuickStart_WidiBud Widi Bud adapter]. It is however possible to receive sensor data on a Windows computer with a generic BLE interface once it is configured in Standalone mode in EditorX.
You will need:
- A WiDig configured in Standalone mode, and USB power source
- loopMIDI virtual MIDI application
- MIDIBerry BLE to MIDI bridge application
Also, we need to route the BLE MIDi port to a virtual MIDI port, so loopMIDI
Pairing the WiDig
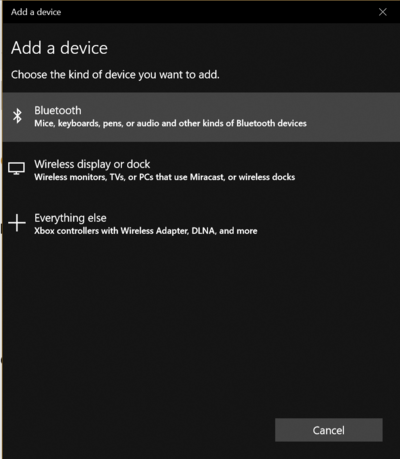
Go to system Settings->Bluetooth & Other Devices, and click on add:
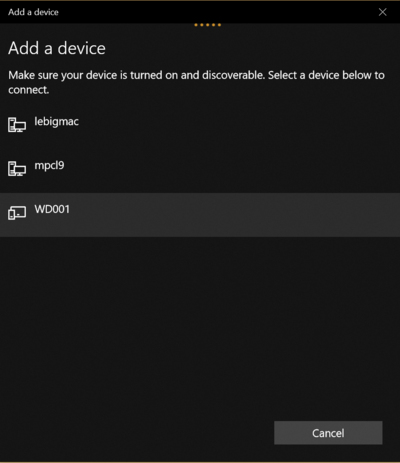
Then, select the WiDig device:
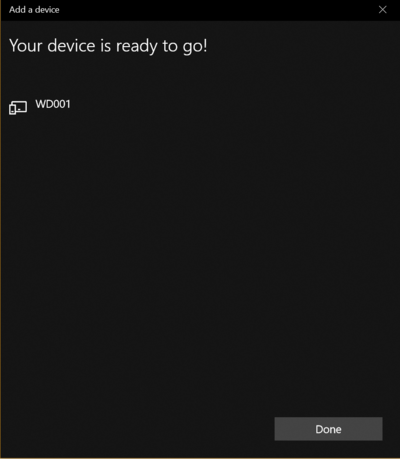
Connect to the device (If it fails once, try again and eventually it should connect):
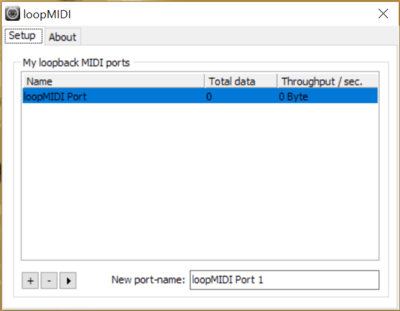
Make sure loopMIDI is running and there is at least one virtual port available:
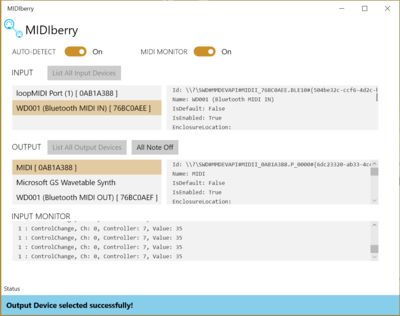
Finally, open MIDIBerry and select the WiDig as input, and the "MIDI" virtual device as output.
Now, you will be able to access WiDig sensor data from any MIDI application via the virtual loopMIDI port!
