Connect-135 QuickStart USB-microDig
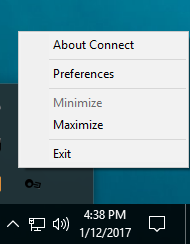
Connect runs in the background and can be accessed via the system tray at the bottom right of the screen. When a USB-microDig is plugged in Connect creates a virtual MIDI port with the name and serial number of that device.
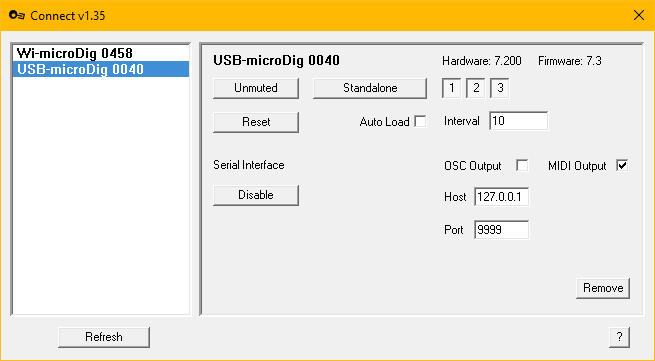
Simply plug in the USB-microDig to a USB port on your Mac and I-CubeX Connect will automatically create a virtual MIDI port for that device and show it in the device list. On USB-microDigs with firmware 7.2 or newer the yellow and green LEDs on the USB-microDig will blink briefly. If it was in host mode the blinking of both green and yellow LEDs will stop. On USB-microDigs with firmware 7.1 or older the red power LED will stop blinking to indicate that it is enabled. The USB-microDig will also appear in the system tray menu that can be accessed by right-clicking on the icon in the system tray. You can view the device by clicking on it's entry in the device list.
To disable the MIDI port, click on the "Disable" button in the main window, or from the status bar menu.
Note that simply unplugging the USB-microDig will also disable the MIDI port and cause it to be greyed-out in the devices list.
If upon plugging in your USB-microDig it is not immediately recognized by I-CubeX Connect, make sure you've installed the USB-microDig drivers and LoopMIDI software.

