Wi-microDig-601 QuickStart Windows-10
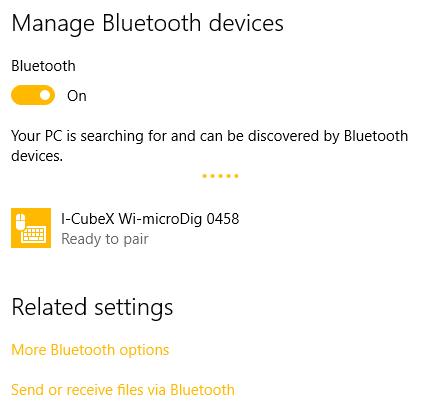
To add a Wi-microDig as a Bluetooth device in Windows 10, perform the following steps.
1. Once your Bluetooth adapter has been installed (including any necessary drivers), either click the Bluetooth icon in the system tray, or go to Start > Control Panel > Hardware & Sound > Add a Bluetooth device.
2. Click the Wi-microDig entry and then click the "Pair" button. A window will show.
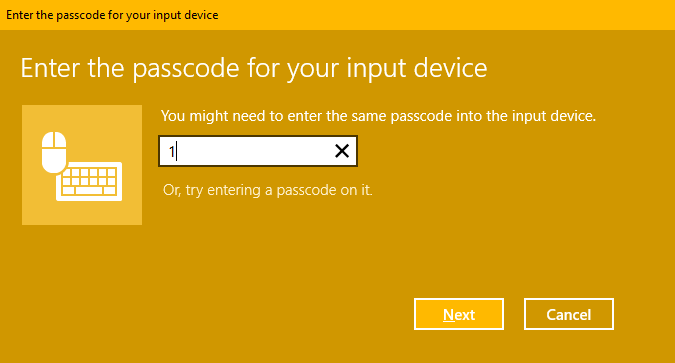
3. When you are asked to enter a passkey, enter the number 1 and click Next.
3. You should then see the following screen:
4. Finally, to figure out which COM port(s) the Wi-microDig is assigned to, go to Start > Control Panel > Hardware & Sound > Devices and Printers. Right-Click on the Wi-microDig and choose "Properties". Then, in the "Services" tab, you should see the COM port(s) listed. If there are two ports listed, ignore the one with direction "Outgoing". In the example below, the applicable "Incoming" port is COM4.


