Connect-170 QuickStart Wi-microDig
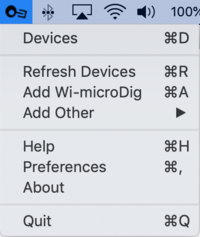
Connect runs in the background and can be accessed via the menu bar at the top of the screen. When a Wi-microDig is connected via Bluetooth Connect creates a virtual MIDI port with the name and serial number of that device.
Before starting Connect, make sure to quit and move any older version to a place where it can't be started automatically, or simply delete it.
After starting Connect, open the "About" window from the main menu in the task bar to verify the version that is actually running.
Contents
Add the Wi-microDig
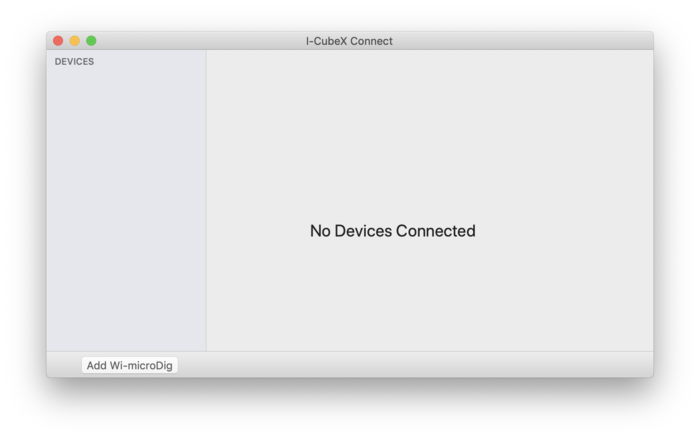
In the main menu or the digitizer view window, click on the "Add Wi-microDig" button.
Select Wi-microDig
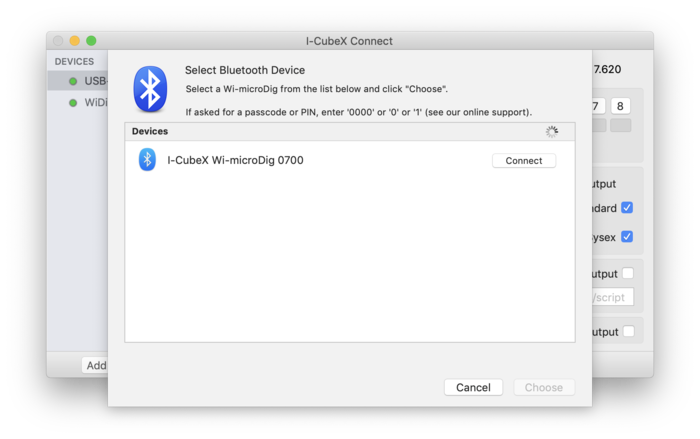
In the new window that opens, you should see your Wi-microDig appear in the list. Click the button "connect" and wait for the Wi-microDig to be connected. Select the Wi-microDig and click on the "Choose" button.
Connect the Wi-microDig
If the Wi-microDig runs firmware v6.41 or higher no pairing code will need to entered but if asked, enter "0000".
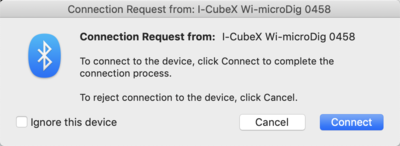
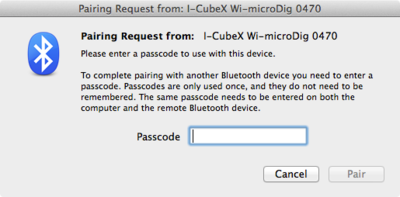
If the Wi-microDig runs firmware v6.40 no pairing code will need to be entered either but you may see the below panel appear (it may disappear and then re-appear). Simply click "Connect". If asked for a pairing code enter "1" (the number 1) or "0" (the number 0).
If the Wi-microDig runs firmware v6.33 or lower and if it's the first time connecting to your Wi-microDig, you'll be asked to enter a pairing code in the below panel. Enter "1" (the number 1).
View the Wi-microDig
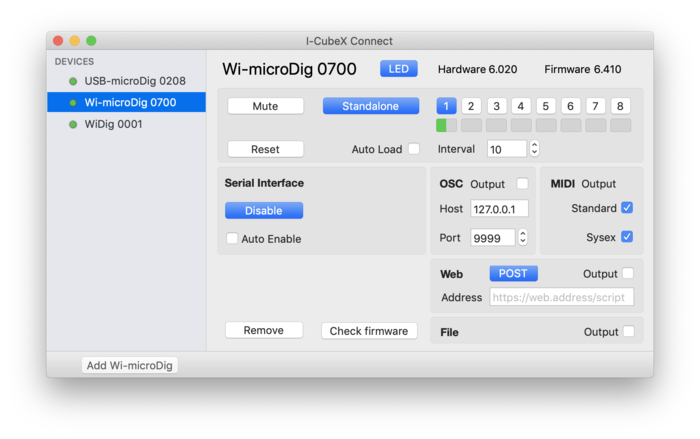
The blue LED on the Wi-microDig will turn on to indicate that a Bluetooth link has been established. Connect will then try to communicate with the Wi-microDig. If it was successful in communicating with it, it will be listed in the main menu with a bullet ("•") preceding its name. You can view the device's settings by clicking on its name in the main menu. The Wi-microDig will also appear in the devices list with a green dot next to it to indicate that it is enabled.
If the Wi-microDig doesn't appear in the device listing after a few seconds, check that it's powered on and that Bluetooth is enabled on your Mac, and try again.
By default, Connect will not attempt to establish a Bluetooth link with your Wi-microDig when it is launched. If you would like to automatically enable it, turn it on using the Auto-Enable checkbox.
To remove the Wi-microDig from the device list (even when it's not connected and enabled), click on "Remove". You will then need to add it again when you next want to use it.
