This is a guide for first time users to the Raspberry Pi System.
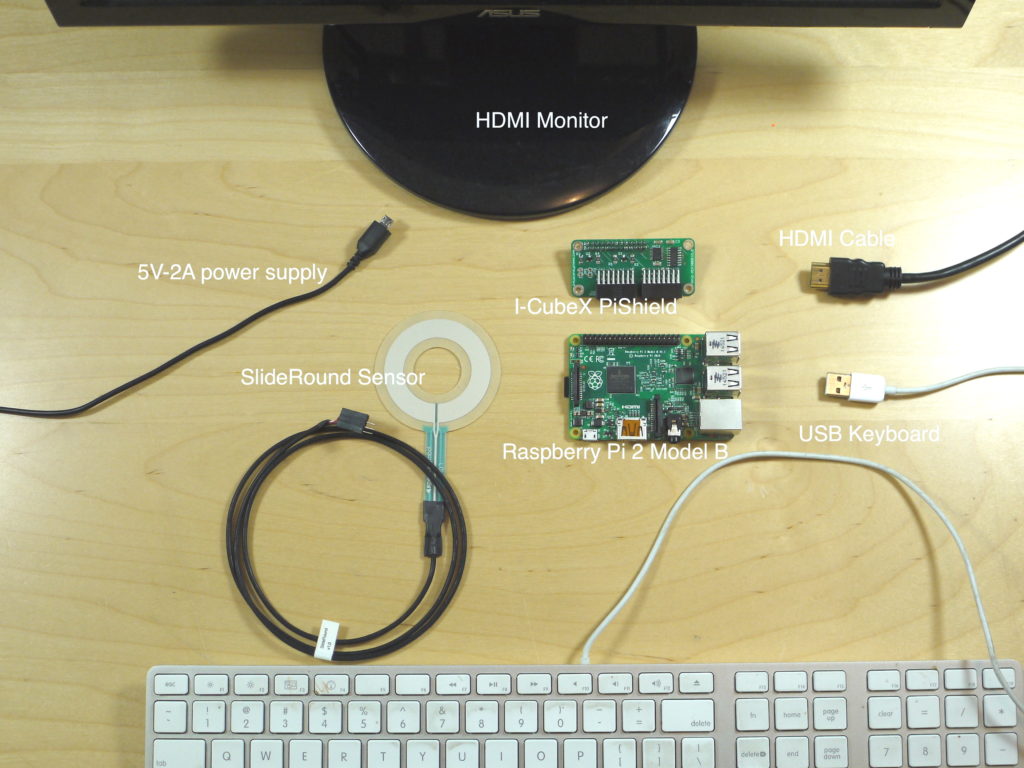
Step 0: Parts list.
- 1x Raspberry Pi. In this tutorial we use a Pi 2 Model B, but the original Model B, newer Pi 3, or Model A/A+ would all work fine. For instructions on the Pi Zero, click here.
- 1x I-CubeX PiShield
- 1x 5V 2A Power supply with a micro-USB connector
- 1x Keyboard
- 1x HDMI monitor
- An analog sensor of your choice. (In this case we have a SlideRound).
Step 1: Connecting.
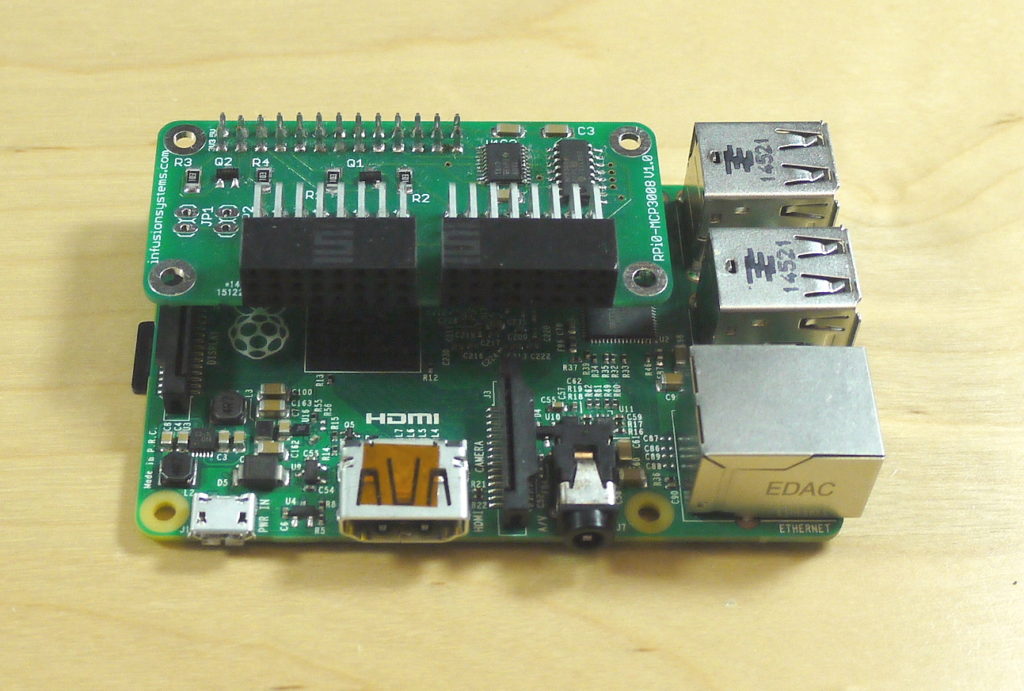
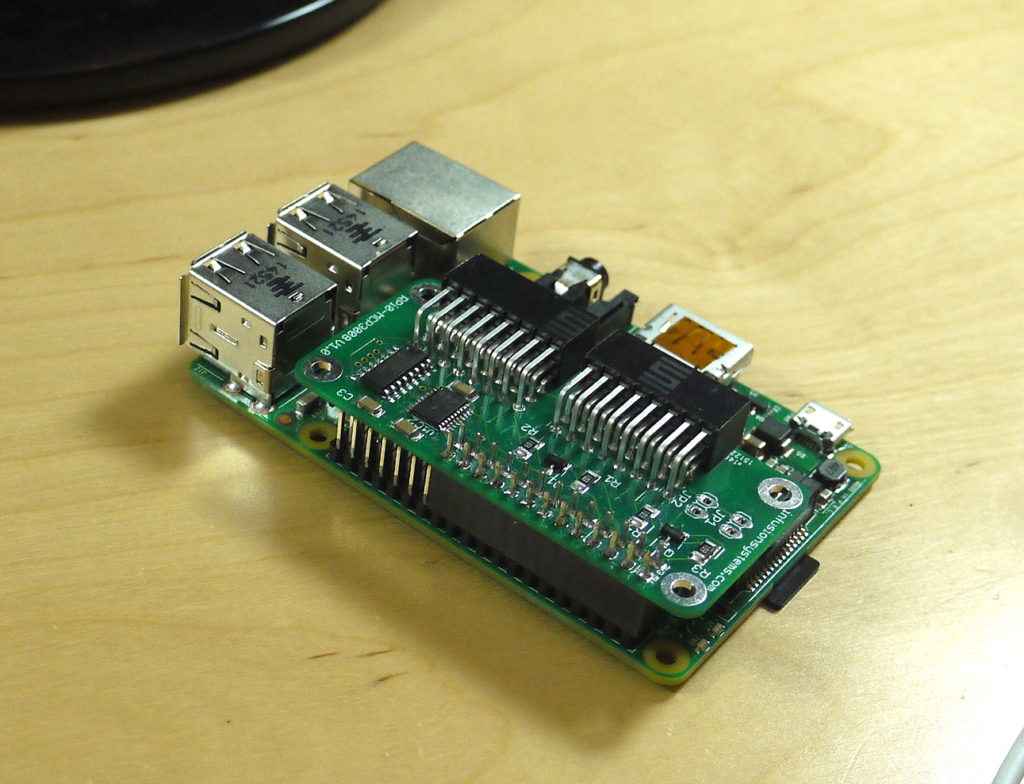
First, attach the PiShield to the board, lining things up as follows:
 |
 |
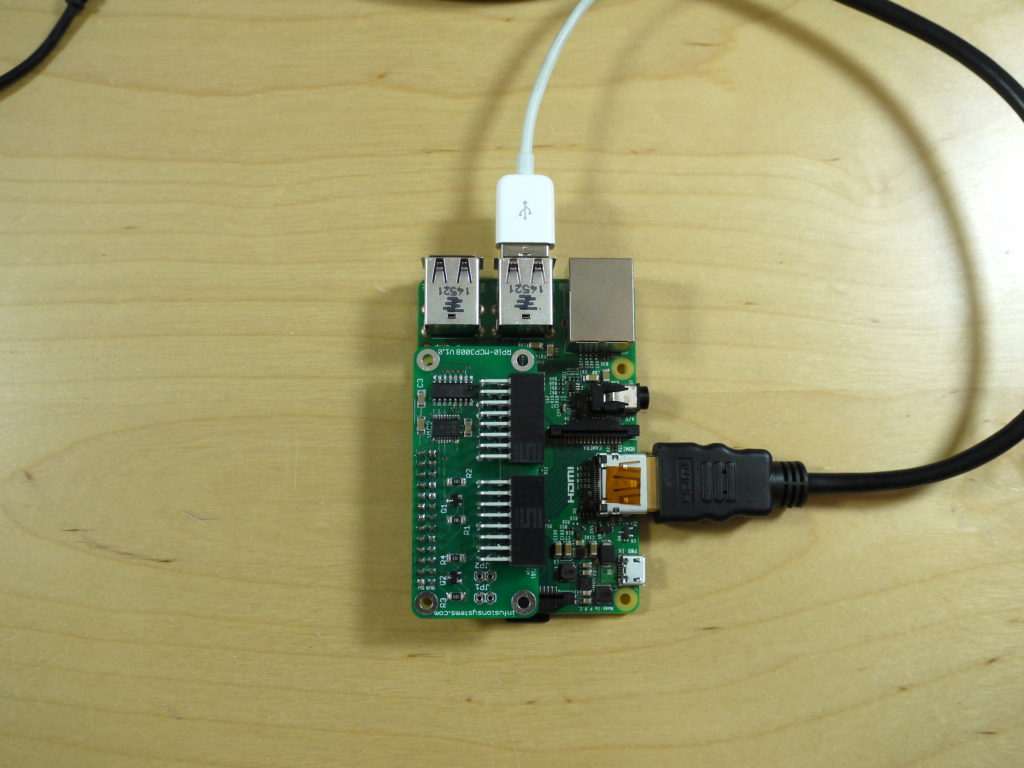
Then, attach the HDMI cable for the monitor and USB for the keyboard:
Almost there! You can now attach the sensor to the analog input. (For more information on the ports, take a look at this page)
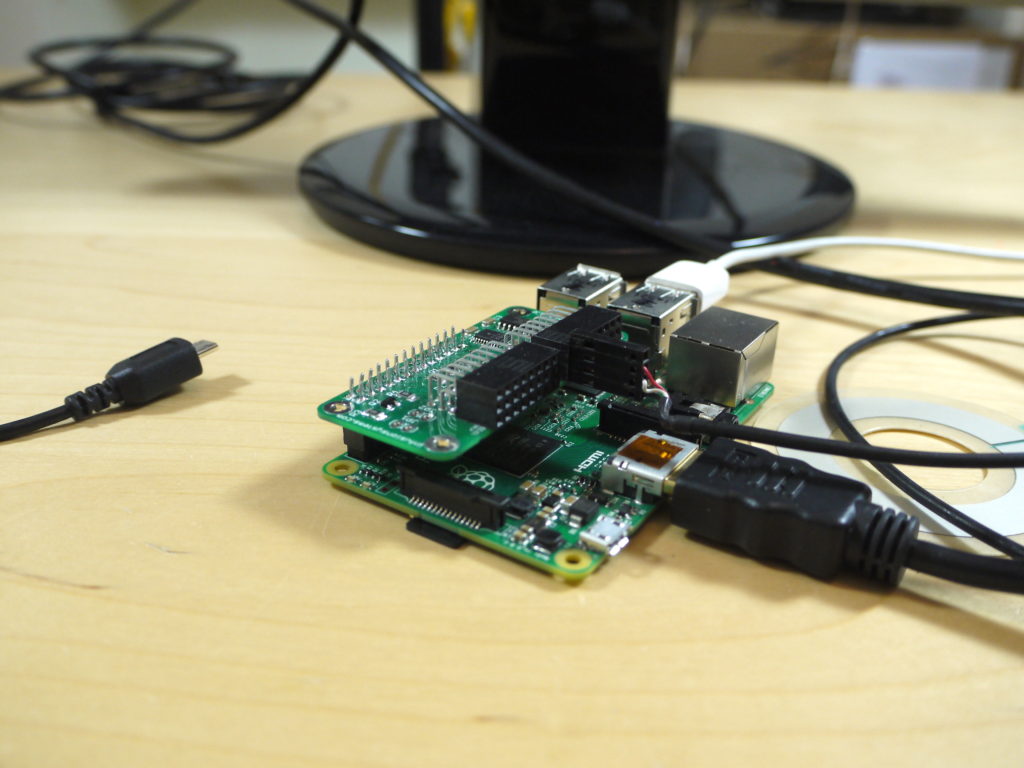
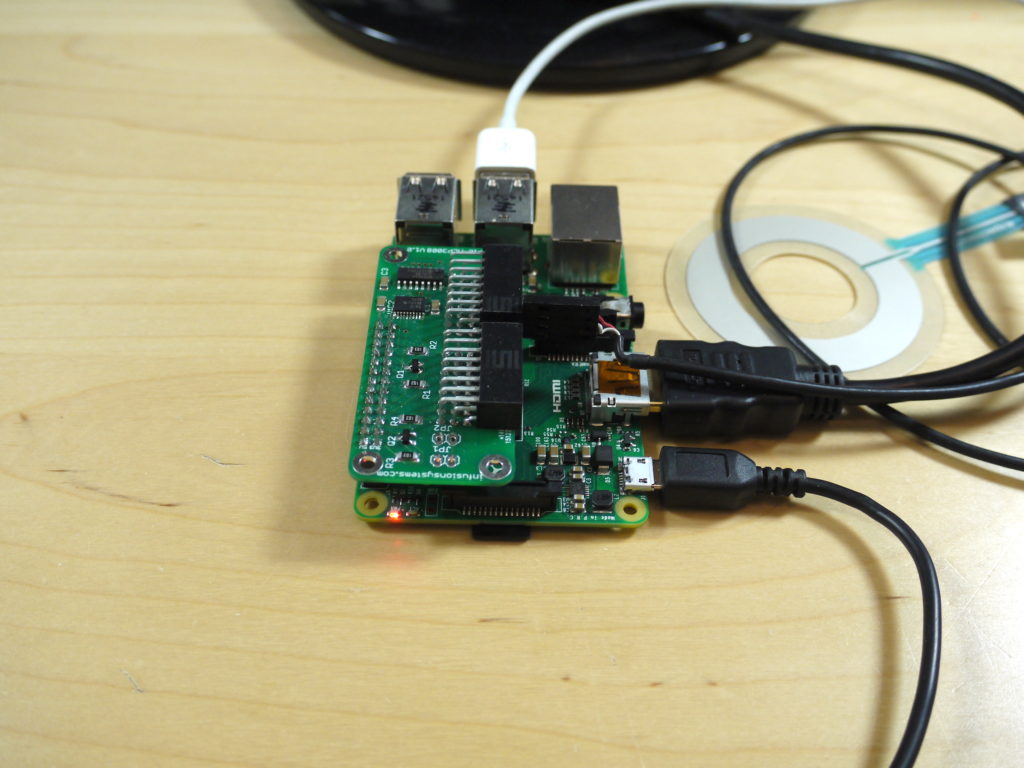
Finally, connect the micro-USB power cable:
Step 2: Logging in.
You should see the Pi booting up! If you don’t see anything, make sure the HDMI input is selected on the monitor. At the login screen, type pi for the username, and raspberry for the password. (You may want to change this later if the project is used in a networked setting!)
Step 3: Getting sensor data .. and more !
Now you are ready to try reading data from an analog sensor with C/C++ or Python.
Take a look at our other examples to get started on your sensor project.
You’re up and running. What you have in front of you is an embedded linux system with access to all sorts of hardware sensors at your disposal including but not limited to the I-CubeX family of products, ready for a wide range of applications !