Here is a startup guide for using the PiShield with a Pi Zero board for a minimal, headless wifi (or ethernet) setup. This assumes that you will be accessing the Pi via another client computer on the same network via SSH. For different setups, check out the desktop setup with the Pi Zero, or other RPi boards.
Step 0: Parts list
- 1x Raspberry Pi Zero
- 1x I-CubeX PiShield
- 1x microSD card with our development image installed
- 1x microSD card adapter and/or card reader
- 1x 5V 2A Power supply with a micro-USB connector
- 1x microUSB to USB adapter (also called a “male to female OTG cable”)
- 1x USB Wifi dongle (or USB Ethernet Dongle)
- An analog sensor of your choice.
Step 1 (If using WiFi): Setting up Wifi credentials
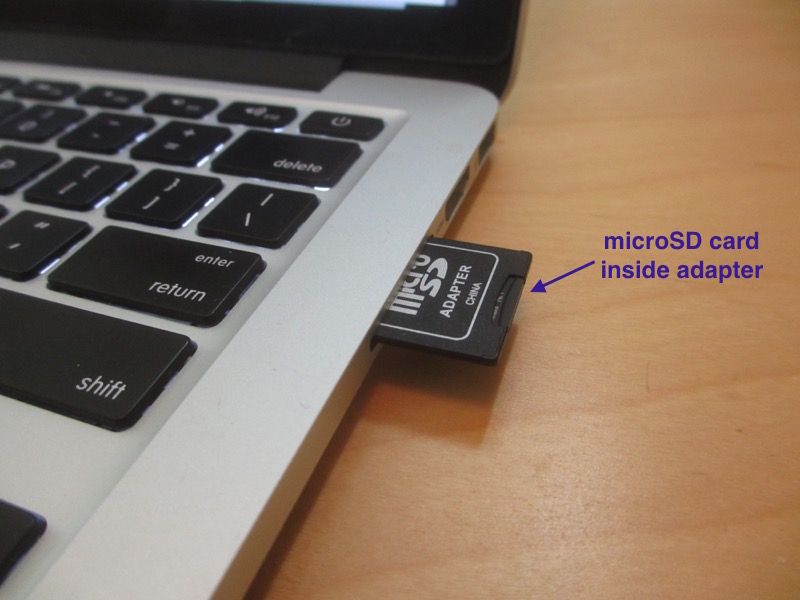
If you are using the wifi dongle, we first need to make sure the wifi SSID and password is set. We’ll use the client computer to set the login credentials on the SD card containing the system image. Insert the microSD card into a card reader (using the adapter if necessary) on the client computer (here we’re using a Mac, but any Windows or Linux machine could work).
You should see a boot volume appear:
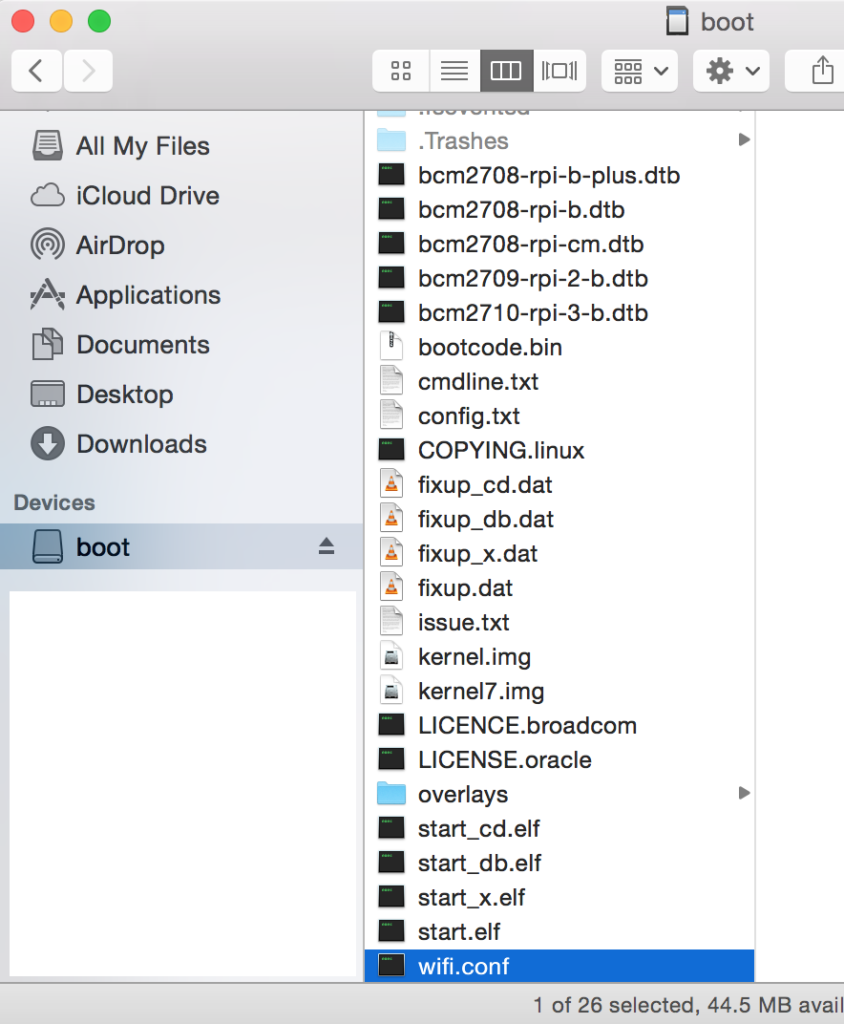
Select the wifi.conf file, and open it using a text editor (here we press CMD+click->”Open With” and select the TextEdit in OSX; on Windows you can use notepad, Linux nano, etc).
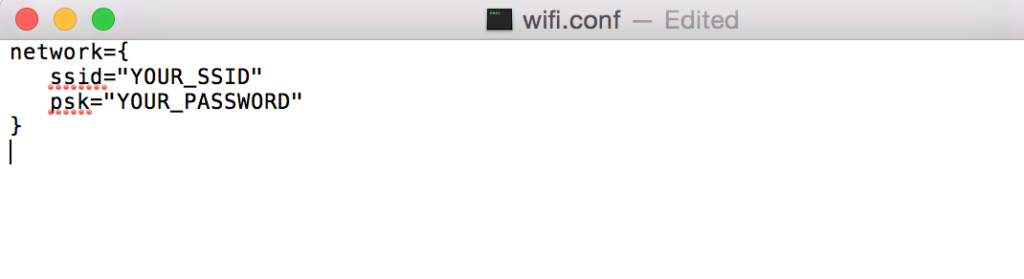
Enter the name of your WiFi network and password between the quotes, and then save the file. Finally, eject the drive (or safe remove in Windows, unmount in Linux). You can now load the card into the Pi and it will use the credentials you entered above to authenticate with your network!
Step 2: Connect Hardware
Now we can insert the SD card into the PiZero, and connect the rest of the hardware:
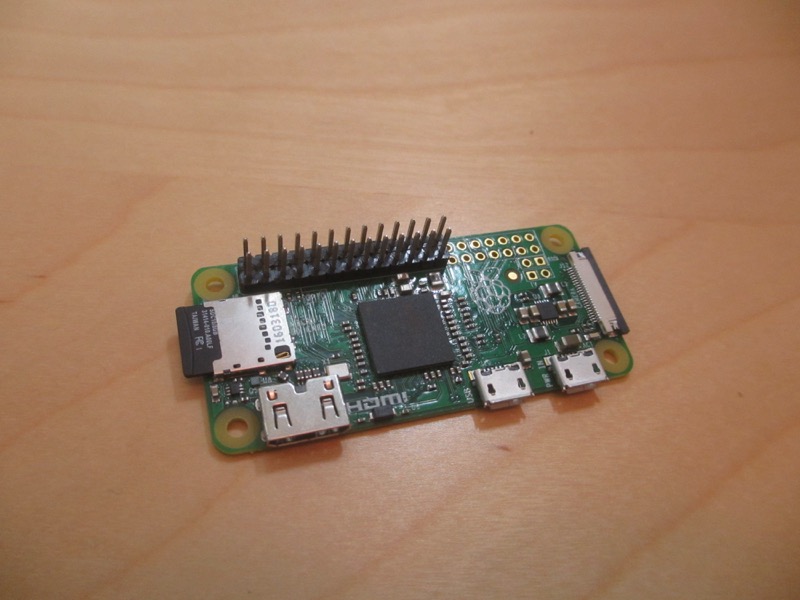
Insert the SD Card into the Pi Zero |
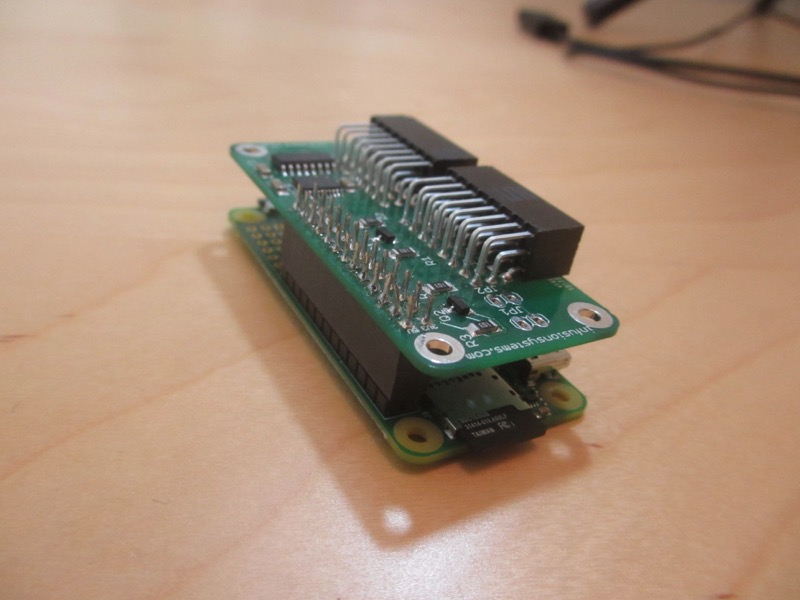
Connect the PiShield to the Pi Zero |
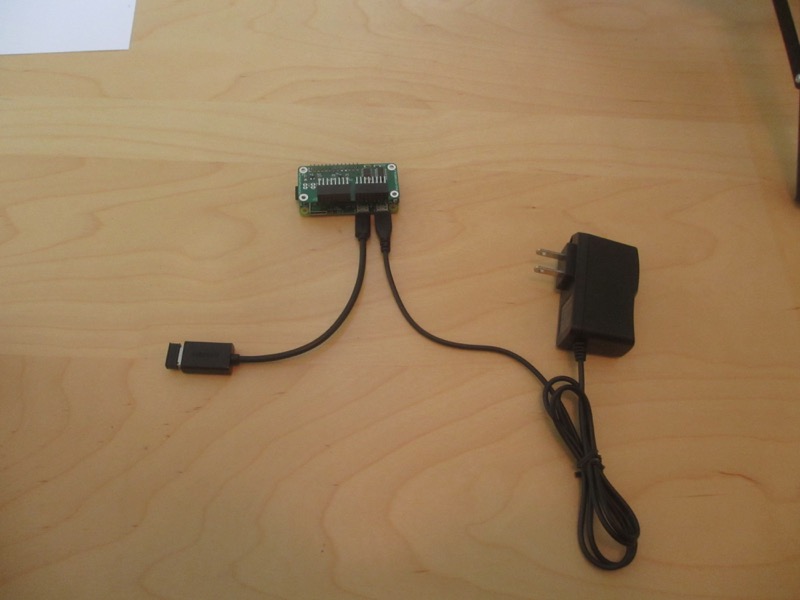
Next, we plug in the WiFi dongle via a microUSB adapter to the USB Data port:
 |
 |
Note: if you’re using a USB-ethernet adapter, at this point use that instead of the WiFi dongle, and then connect the network port via a cable to your router.
Finally, when you’re ready to go, connect the power adapter to the power USB port (nearest to the edge of the board):
 |
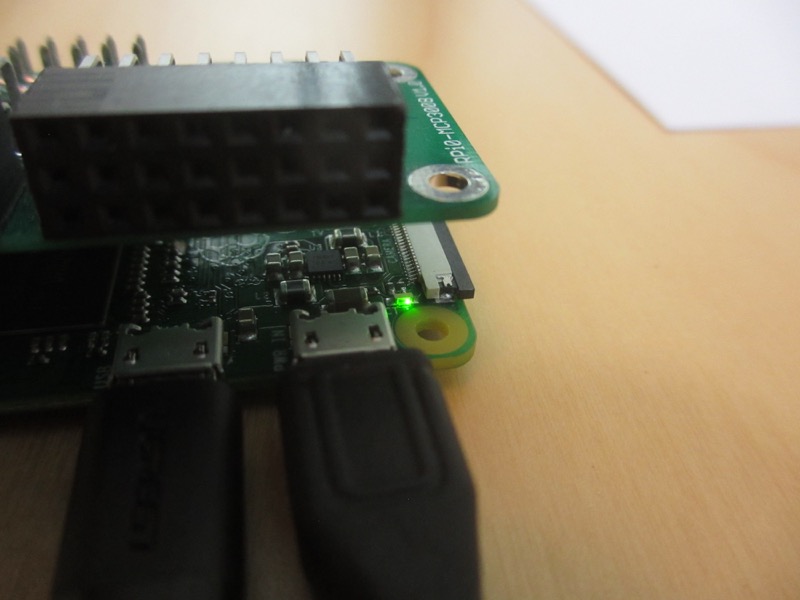 |
Now, wait a bit for the system to boot up (you should see the ACT light flash, and the LED of the WiFi dongle blink), and you’re ready to log in!
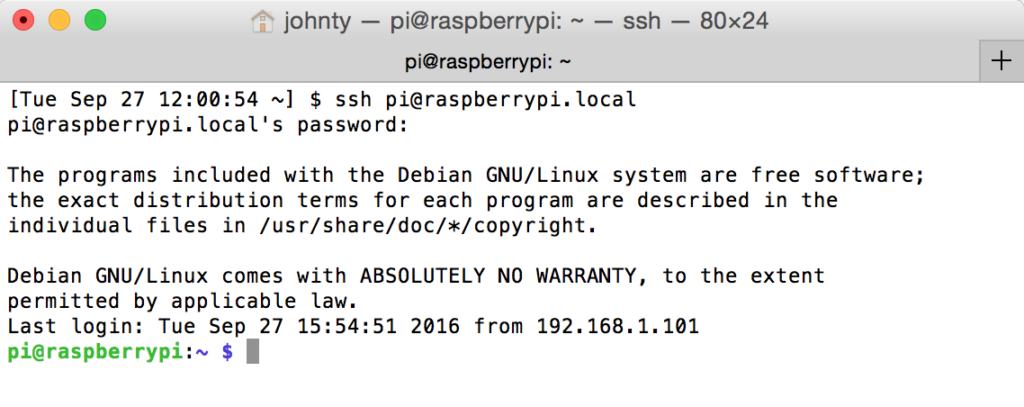
Step 3: Log in!
On your client machine, open a terminal and type ssh pi@raspberrypi.local, and enter raspberry as the password. You’re in!