Difference between revisions of "Connect-150 Digitizer View"
| Line 32: | Line 32: | ||
Clicking the "Remove" button disables the digitizer's serial interface (making it available to other software), disposes of the MIDI port associated with the digitizer and then removes the digitizer from the device list. | Clicking the "Remove" button disables the digitizer's serial interface (making it available to other software), disposes of the MIDI port associated with the digitizer and then removes the digitizer from the device list. | ||
| + | |||
| + | The "Check Firmware" button allows you to manually check for the latest firmware version for the connected digitizer. If a newer version is available it can be uploaded to the digitizer, see the [[Connect-150_Firmware_Upload |Firmware Upload]] section. | ||
Revision as of 06:39, 12 January 2018
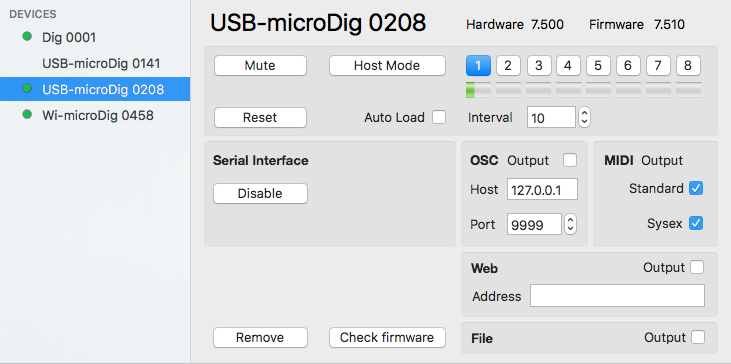
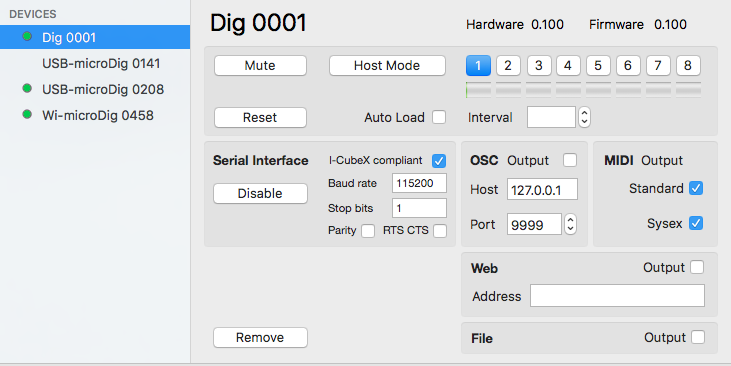
The digitizer view window is opened by selecting "Devices" from the main menu. It will show the last viewed device. A specific device can be viewed by selecting its menu entry from the main menu. The digitizer view allows you to configure the digitizer's serial interface, its mapping to MIDI, OSC and a webhook URL, and it allows you to partially configure the digitizer itself using a mini editor.
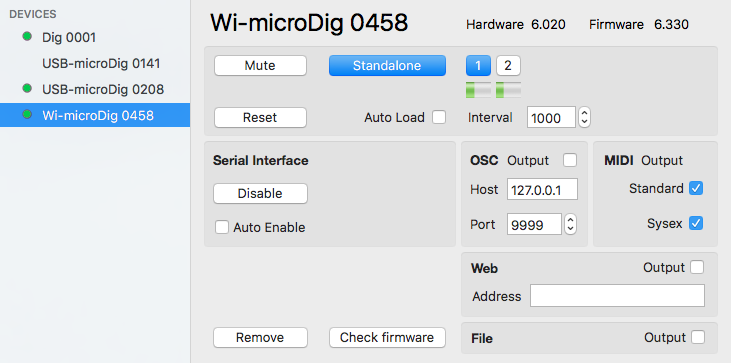
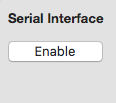
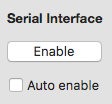
The serial interface can be enabled or disabled. When the status is disabled the digitizer's serial port is available for other software to connect to and all the configuration options in the Digitizer view are hidden. The auto-enable feature for Wi-microDigs, if checked, sets Connect to attempt on startup to enable the serial interface and Bluetooth link of the Wi-microDig, and when the Wi-microDig's Bluetooth link is temporarily lost, eg. due to power interruption, to attempt to re-establish the Bluetooth link. If the attempt fails a dialog will appear giving you the option to cancel further attempts.
|
|
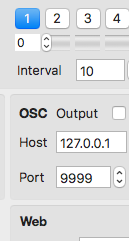
The MIDI and OSC mapping features can be turned on or off by clicking the checkbox. the MIDI output can be configured using EditorX. OSC output conforms to the format /<digitizer_name>/<input_name> <sensor_value>, eg. "/USB-microDig_0141/Input_02 76", or "/USB-microDig_0141/Input_02 76 22 56", if the sensor is a digital (I2C) sensor that outputs 3 values.
The mini editor provides some control over the internal configuration of the digitizer. To access all the digitizer's standalone mode configuration settings use EditorX.
In standalone mode, each sensor input that is configured with a processing setting will be shown as a white button. When the sensor input is both configured as well as active (on), it will be shown in blue as shown below in the case of Wi-microDig 0458. In host mode, all sensor input buttons are shown and they turn blue when the sensor input is turned on.
For each sensor input, below the on/off button, there is a grey/green slider indicating the last received sensor value. For digital sensors, since they usually output multiple parameters with different values which cannot be separately displayed by this slider, the slider shows the maximum value, ie. it's just green.
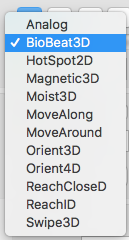
By clicking on the slider the sensor can be selected from a menu, so that the digitizer can be configured for the sensor that is connected to the input. By clicking again on this slider and selecting the same sensor a field will appear that allows you to enter the method (only applicable to digital sensors).
The auto-load feature, when the toggle is set, saves the configuration to Connect's preferences file. Now, when switching mode, or when Connect is re-started, the configuration will be loaded from Connect's preferences file.
The Reset button sends a RESET message to the digitizer, which will instruct the digitizer to execute a software reset. Clicking the Reset button while holding down the option key, and while the digitizer is in standalone mode, will send a CLEAR CONFIG message to the digitizer, which will clear the digitizer's standalone configuration. See the digitizer's firmware specification for details.
Clicking the "Remove" button disables the digitizer's serial interface (making it available to other software), disposes of the MIDI port associated with the digitizer and then removes the digitizer from the device list.
The "Check Firmware" button allows you to manually check for the latest firmware version for the connected digitizer. If a newer version is available it can be uploaded to the digitizer, see the Firmware Upload section.
The "Add Other" option in the main menu, if used to select the serial port of an "iCubino", ie. an Arduino that is made I-CubeX compatible by uploading the iCubino sketch to it, adds the iCubino to the device list, and makes it available to I-CubeX software such as Link. It can also be mapped to MIDI and/or OSC and/or a webhook URL address for use in IoT (Internet of Things) applications. Serial devices that are not I-CubeX compatible can also be added to the device list, and data received from them will then be output as MIDI. OSC output and webhook URL posting is only applicable to I-CubeX compatible serial devices.
