Connect-164 Main Menu
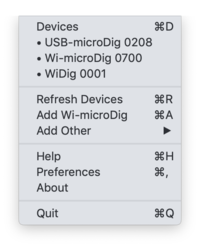
The main menu is shown after clicking the icon in the Apple top menu bar. It lists the available devices, allows for the addition of a Wi-microDig using a Bluetooth dialog, for the addition of other serial devices and allows access to the preferences menu.
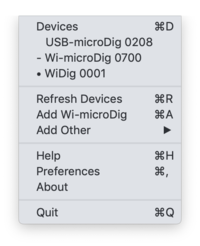
Once a device has been recognized by Connect it will be added to its list of devices. The devices (whether connected or not) are listed under "Devices" in the main menu. When the status of a device is enabled, the device list entry in the main menu is shown preceded by a bullet ("•"). If it is muted it is preceded by a dash ("-"), see the list below. When it is disabled, it is preceded by neither a bullet nor a dash.
If a digitizer's serial port was in use by another software at the time Connect tried to establish a connection (and failed), use "Refresh Devices" once the digitizer's serial port is available to enable Connect to add it to the device list.
To setup a Wi-microDig for use with Connect, click "Add Wi-microDig". Instructions can be found in the quickstart section of this wiki.
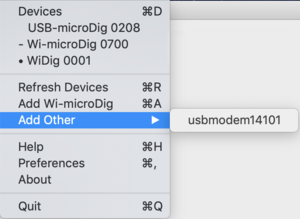
The "Add Other" option enables any serial device to be added to the device list and mapped to a MIDI port, where all bytes are transmitted (in both directions) as MIDI bytes. If the serial device conforms to the I-CubeX MIDI mapping protocol it can also be mapped to an OSC port and/or its data can be posted to a webhook URL address or GET requests can be sent. This feature can be useful for Arduino devices to which I-CubeX sensors are connected using the I-CubeX ArduinoShield. If the Arduino device runs the iCubino sketch it will output bytes that can be recognized by Connect and can be mapped to MIDI, OSC or Webhook protocols. It can also be used with I-CubeX software such as Link.


