Difference between revisions of "Laser Strings"
(→Pairing for Configuration) |
|||
| Line 21: | Line 21: | ||
==Pairing for Configuration== | ==Pairing for Configuration== | ||
| − | Follow either the [[#pairing_osx Mac OS]] or [[#pairing_win Windows]] instructions below: | + | Follow either the [[#pairing_osx|Mac OS]] or [[#pairing_win|Windows]] instructions below: |
===<span id="pairing_osx"></span>Mac OSX=== | ===<span id="pairing_osx"></span>Mac OSX=== | ||
| Line 41: | Line 41: | ||
[[File:Osx-bluetooth-connect.png ]] | [[File:Osx-bluetooth-connect.png ]] | ||
| − | proceed to the next step | + | [[editor_config|proceed to the next step] |
===<span id="pairing_win"></span>Windows=== | ===<span id="pairing_win"></span>Windows=== | ||
| − | |||
==<span id="editor_config"></span>EditorX Configuration== | ==<span id="editor_config"></span>EditorX Configuration== | ||
Revision as of 21:59, 21 June 2018
Contents
What you need
For this walkthrough, you will need:
- A WiDig with power supply (USB cable or USB battery pack)
- A Flash sensor
- A ReachCloseD
- A SeeLaser-GreenWide or any laser of your choice
- An iPad (or other iOS device) running GarageBand
Hardware Setup
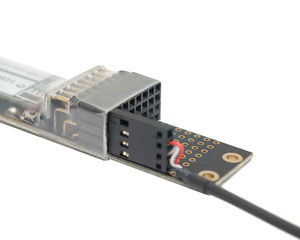
First, plug in the ReachCloseD into input 1, The Flash into input 2, and the laser into any other slot:
Next, connect the WiDig via a micro-USB cable to a charged USB battery pack, or a USB power supply.
Pairing for Configuration
Follow either the Mac OS or Windows instructions below:
Mac OSX
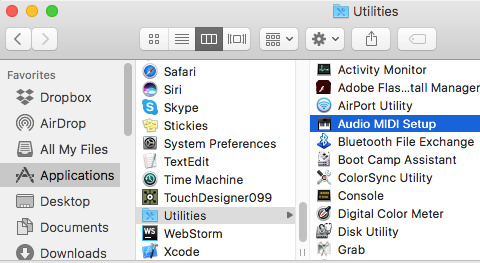
Open Audio MIDI Setup under Applications/Utilities
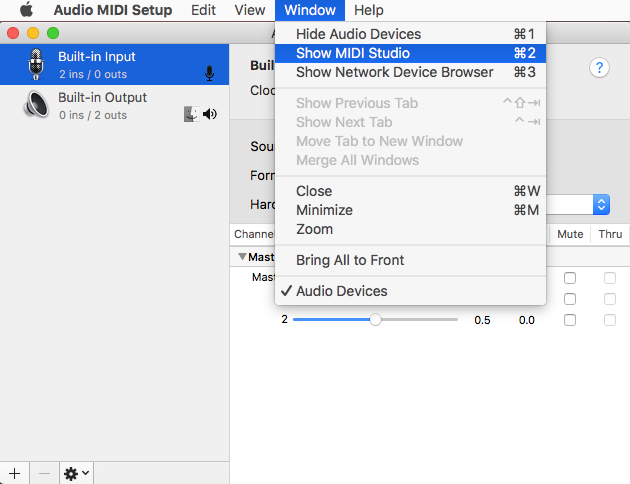
Go to "MIDI Studio":
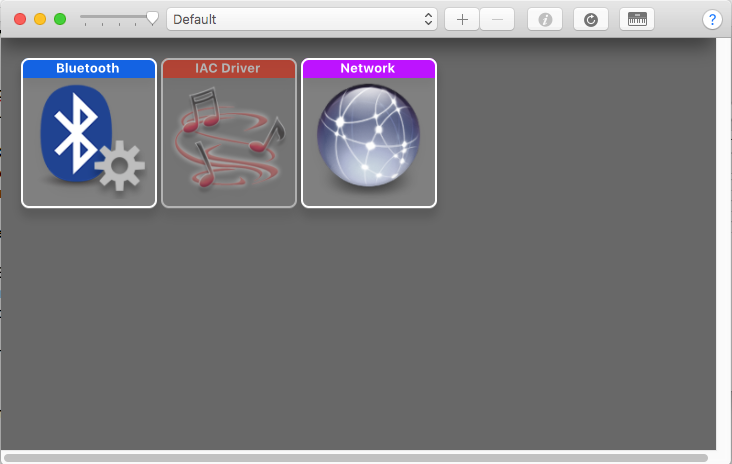
Double click the Bluetooth icon:
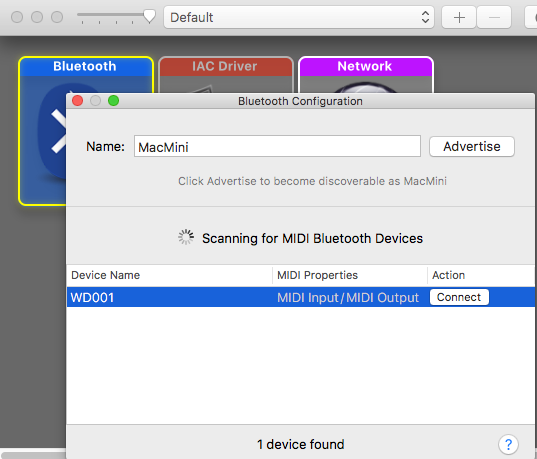
Select the WiDig device, and press the "connect" button:
[[editor_config|proceed to the next step]
Windows
EditorX Configuration
Now its time to set up the sensors to map to MIDI messages. In the example, we emit two parameters:
1.) The ReachCloseD's distance value is mapped to pitch bend
2.) The Flash sensor emits a note on/off pair when the laser light is interrupted
