Using I-CubeX Connect
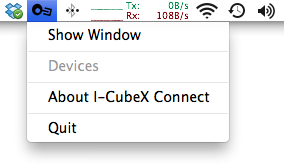
I-CubeX Connect runs in the background and can be accessed via the menu bar at the top of the screen. When a USB-microDig is plugged in or a Wi-microDig is connected via Bluetooth, I-CubeX Connect creates a virtual MIDI port with the name and serial number of that device.
Connecting to the USB-microDig
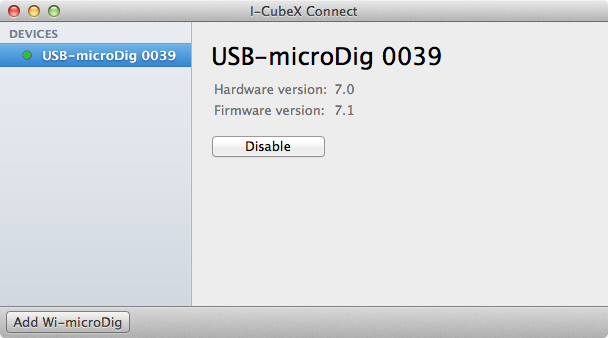
Simply plug in the USB-microDig to a USB port on your Mac and I-CubeX Connect will automatically create a virtual MIDI port for that device. The red power LED on the USB-microDig will stop blinking to indicate that it is enabled, and a green dot will appear next to the device in the I-CubeX Connect window.
The USB-microDig will also appear in the pull down menu. If it is enabled, it will be listed in boldface. You can access the device by clicking on "Show Device".
To disable the MIDI port, click on the "Disable" button in the main window, or from the status bar menu.
Note that simply unplugging the USB-microDig will also disable the MIDI port and cause it to be removed from the devices list.
If upon plugging in your USB-microDig it is not immediately recognized by I-CubeX Connect, make sure you've installed the USB-microDig drivers available here.
Connecting to the Wi-microDig
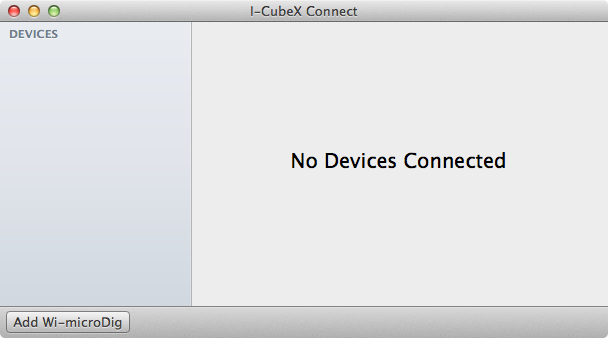
In the main window, click on the "Add Wi-microDig" button.
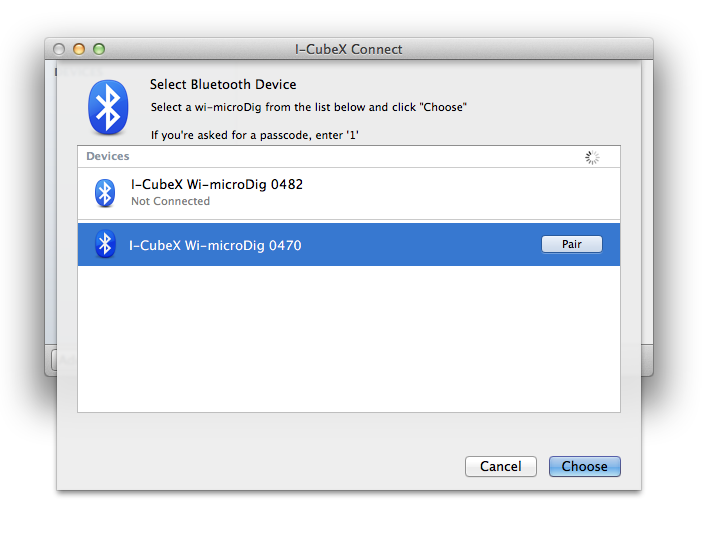
You should see your Wi-microDig appear in the list. Select it and click on the "Choose" button. If the Wi-microDig doesn't appear after a few seconds, check that it's powered on and that Bluetooth is enabled on your Mac.
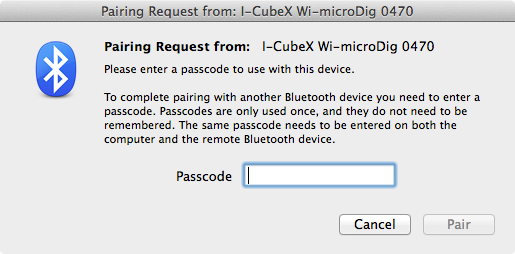
If it's the first time connecting to your Wi-microDig, you'll be asked to enter a passcode. Enter the number 1 and click "Pair".
The Wi-microDig will then appear in the devices list with a green dot next to it to indicate that it is enabled. The blue LED on the Wi-microDig will also turn on to indicate that a Bluetooth connection has been made.
By default, Connect will not attempt to connect to your Wi-microDig when it is launched. If you would like to enable auto-connect, turn it on using the checkbox.
To remove the Wi-microDig from the device list (even when it's not connected and enabled), click on "Remove". You will then need to add it again when you next want to use it.


 LinkedIn group